Who can use this feature:
🥇Accounts on the Starters, Mains or All You Can Eat plan.
🔐Users with access to various EPoS Local permissions.
Introduction
Kobas has several elements of the system to help you manage your tables, and thus your guests' experience.
- Reservations - we offer a comprehensive reservation system that allows your customers to book in and pay deposits. Our integration with Design My Night allows you to manage reservations on tables, to maximise your bookable space and revenue.
- Customers - our customer database allows quick access to your customers' details, making reservations quick and easy.
- Tabs - this basic EPoS function allows you to store food and drink ordered to a tables bill, whilst allowing instructions to be printed or displayed at bars, kitchens, and host stations to ensure the smooth functioning of your operation.
- Tabs to tables - this feature allows you to tell Kobas what tables you have in your venue and ensures that you can assign tabs/orders to those tables. This element also allows you to define your tables for Mobile Ordering (to table).
- Table Manager - these features are in our current roadmap to deliver in the future. This will allow much more efficient restaurant-style operations. We will allow EPoS and MPoS terminals to log and display table state (clear, starters, etc), as well as upcoming bookings.

Tabs to tables
This feature allows you to quickly and automatically name a tab after a table, or if the tab already exists, you’re able to instantly find it without the search.
Initial configuration
Tables can be added and amended by going to Administration > Venue Settings > Settings > Tables. Please see here for more information.
Assigning orders to tabs/tables on EPoS
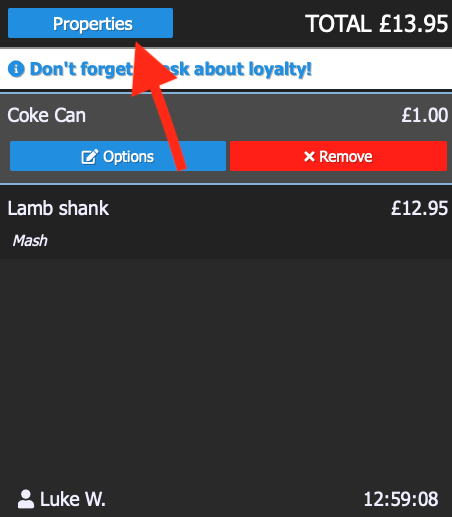
To get started, just put through orders as usual. Once you put through an order, you can add it to an existing table by clicking Properties on the top left corner of your order screen. When the Order properties screen pops up, select Table. Select the table appropriate for the order, then click OK.

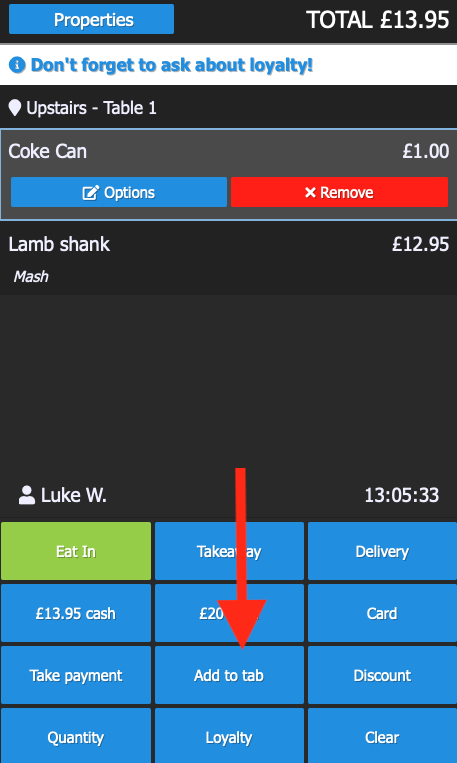
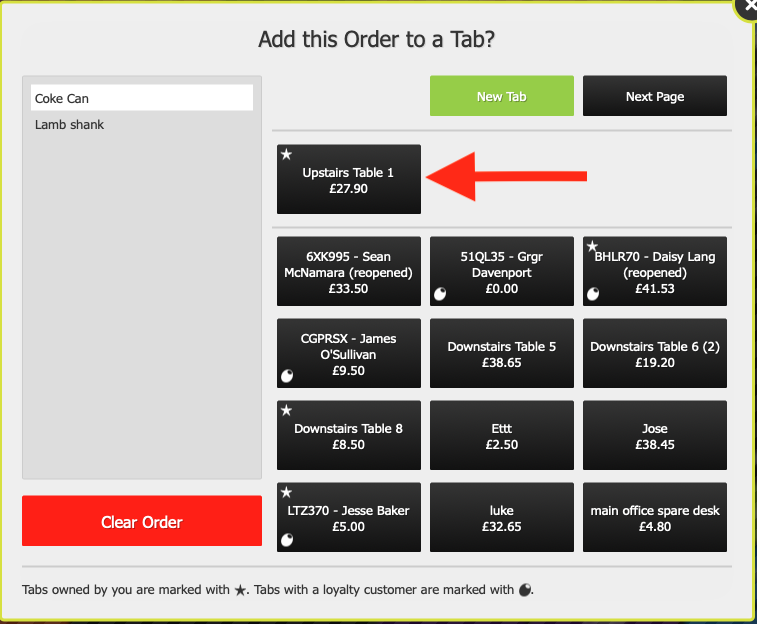
Once you’ve added the order to a table, you can then add it to a tab that corresponds with the table number. On your EPoS screen, select Add to tab, and your Tab screen will pop up. If you already have a tab opened for the table, select the tab name that corresponds to the order. Otherwise, select New Tab to create one specific for the table.
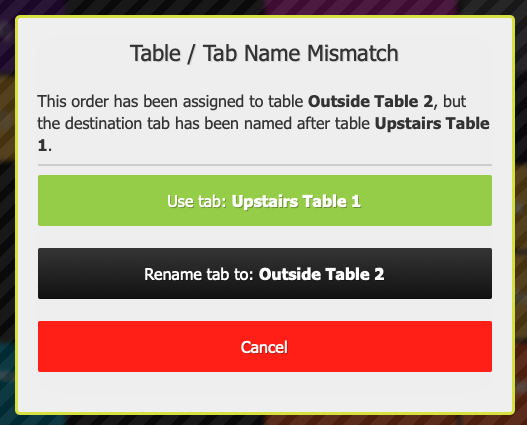
If, however, you would like to attach a table to a different tab, selecting the tab name different from the table name will prompt the Table/Tab Name Mismatch screen. This will allow you to either continue using the tab you’ve selected or rename the tab to match the table number.
For example, if you want to add Upstairs Table 1 to a tab and you select the tab named Outside Table 2, the image below will be shown. If you intended to assign Upstairs Table 1 to the tab Outside Table 2, click the green button.
However, if Outside Table 2 is already in use by a different party and you choose to rename it for Upstairs Table 1, any unsettled bill attached to tab Outside Table 2 will be added to the overall bill of the guests of Upstairs Table 1.
Merge or Split
If two or more tables are sharing one tab, you can choose to either merge or split the tab entirely at the end of the night. For example, if a group of 10 are seated in two separate tables but would like the tab to be on one bill, you can merge the two tables into one tab. Or, if the group are separated into two but have one tab open, you can split the tab between the two tables at the end of the night.
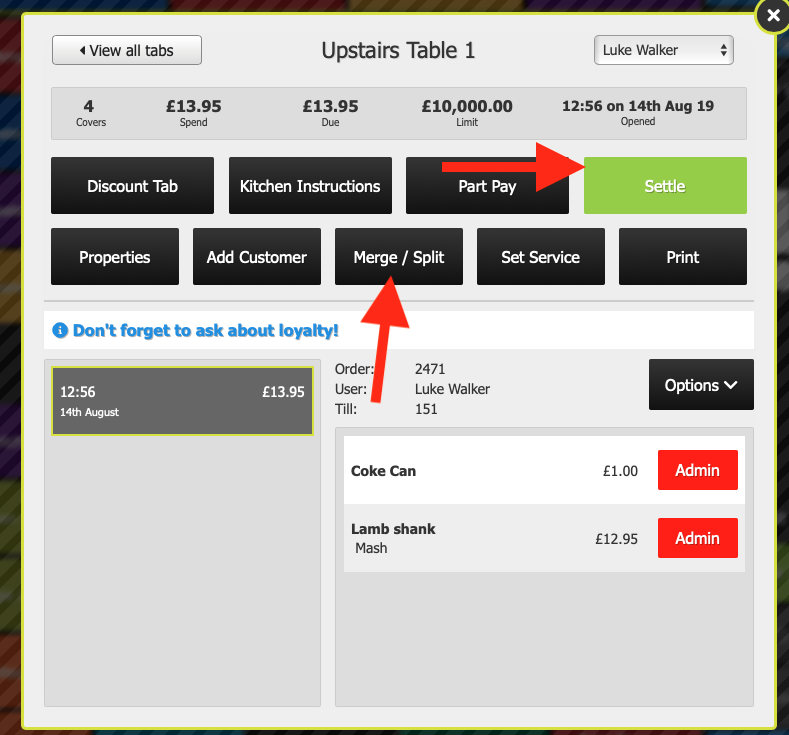
To do this, simply access Tabs as normal and select the tab you wish to open. On your tabs screen, you will notice a Merge/Split button. Once you select the button, it will give you the option to either merge the two tabs, or to split it into two separate tables.
When splitting or merging, you can choose an existing tab or a brand new one. You can do this at the point of payment or ahead of time, to prevent any traffic jams at the card machine.
Settle the tabs as usual.