Who can use this feature:
🥇Accounts on the Starters, Mains or All You Can Eat plan.
🔐Users with access to Hardware permission.
Jump to:
- Introduction
- What will be delivered
- Step One: Check, turn on and get on wifi
- Step Two: Update the terminal and take a standalone payment
- Step Three: Set up in Kobas Cloud
- Step Four: Update and take payment
Introduction
Taking delivery of Kobas Payments terminals, and getting ready to take payments, is really simple. This is your guide to this process.
What will be delivered
In your delivery, you will recieve, in a tamper-proof bag, for each terminal - the terminal, a USB-C charging cable, and a small user guide. Any charging bases ordered will be in their own box.
Step One: Check, turn on and get on wifi
Take all of your equipment and power up your terminals, following the short instruction guide in the boxes. Check that the Serial Numbers match what is on the dispatch slip within the delivery.
Once it is powered up, you will need to get it onto Wifi using the same network as your Kobas EPoS. The terminal should show the Kobas Payments background, press the top right of the screen and choose Wi-Fi Settings:
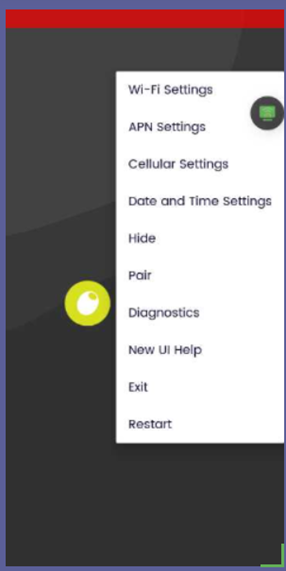
Once you choose this, then you will need to choose your Wifi and enter the password.
Step Two: Update the terminal and take a standalone payment
Once the terminal is on Wifi, you should press the menu as above and press "Exit". This will take you to the standalone app. Here you will need to log in (usually user ID and password is 1234). If you scroll down, you will see "Force Update" - press that and wait for the device to reboot.
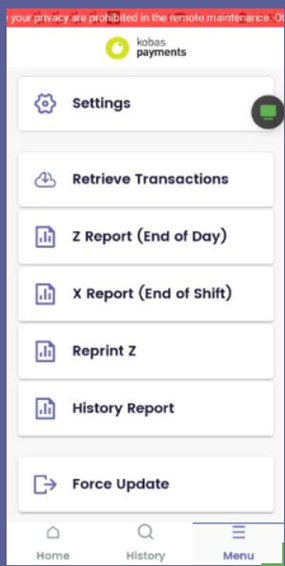
When it reboots get back to the standalone app, and press Payments, and enter 1p. Take the transaction to check this is successful.
Step Three: Set up in Kobas Cloud
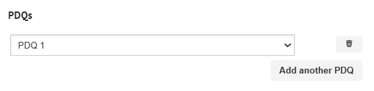
The Professional Services team may have added your terminals into cloud ready for you. You should check this regardless. You will need the correct permission in Kobas, to head to: Administration > Venue Settings > Settings > PDQs Tab.
On this page, you will be able to see what IP addresses are free (cross check with Tills and Preparation tabs). You will then eed to create each new PDQ in Kobas, and type the IP address and Serial Number for each terminal.

When you have done that, you will need to go the Tills tab and edit each till to link one or more PDQ to them.
Once you have done this, don't forget to Download Data.
Step Four: Test transaction in integration mode
The last step is to statically assign each PDQ to the correct IP address, as you have set up within Kobas Cloud. You will need to head to the Wifi settings as in Step One, then scroll down and change DHCP to Static. You will then need to enter:
- IP Address
- Gateway IP address (the PS team can assist with this)